FPGA

How to upgrade Xilinx FPGA online

Time: 2025-01-13 13:54:12View:

Upgrading a Xilinx FPGA typically involves updating the FPGA's firmware (bitstream) or tools/software used for configuration and design. Here's a step-by-step guide for performing an upgrade online:
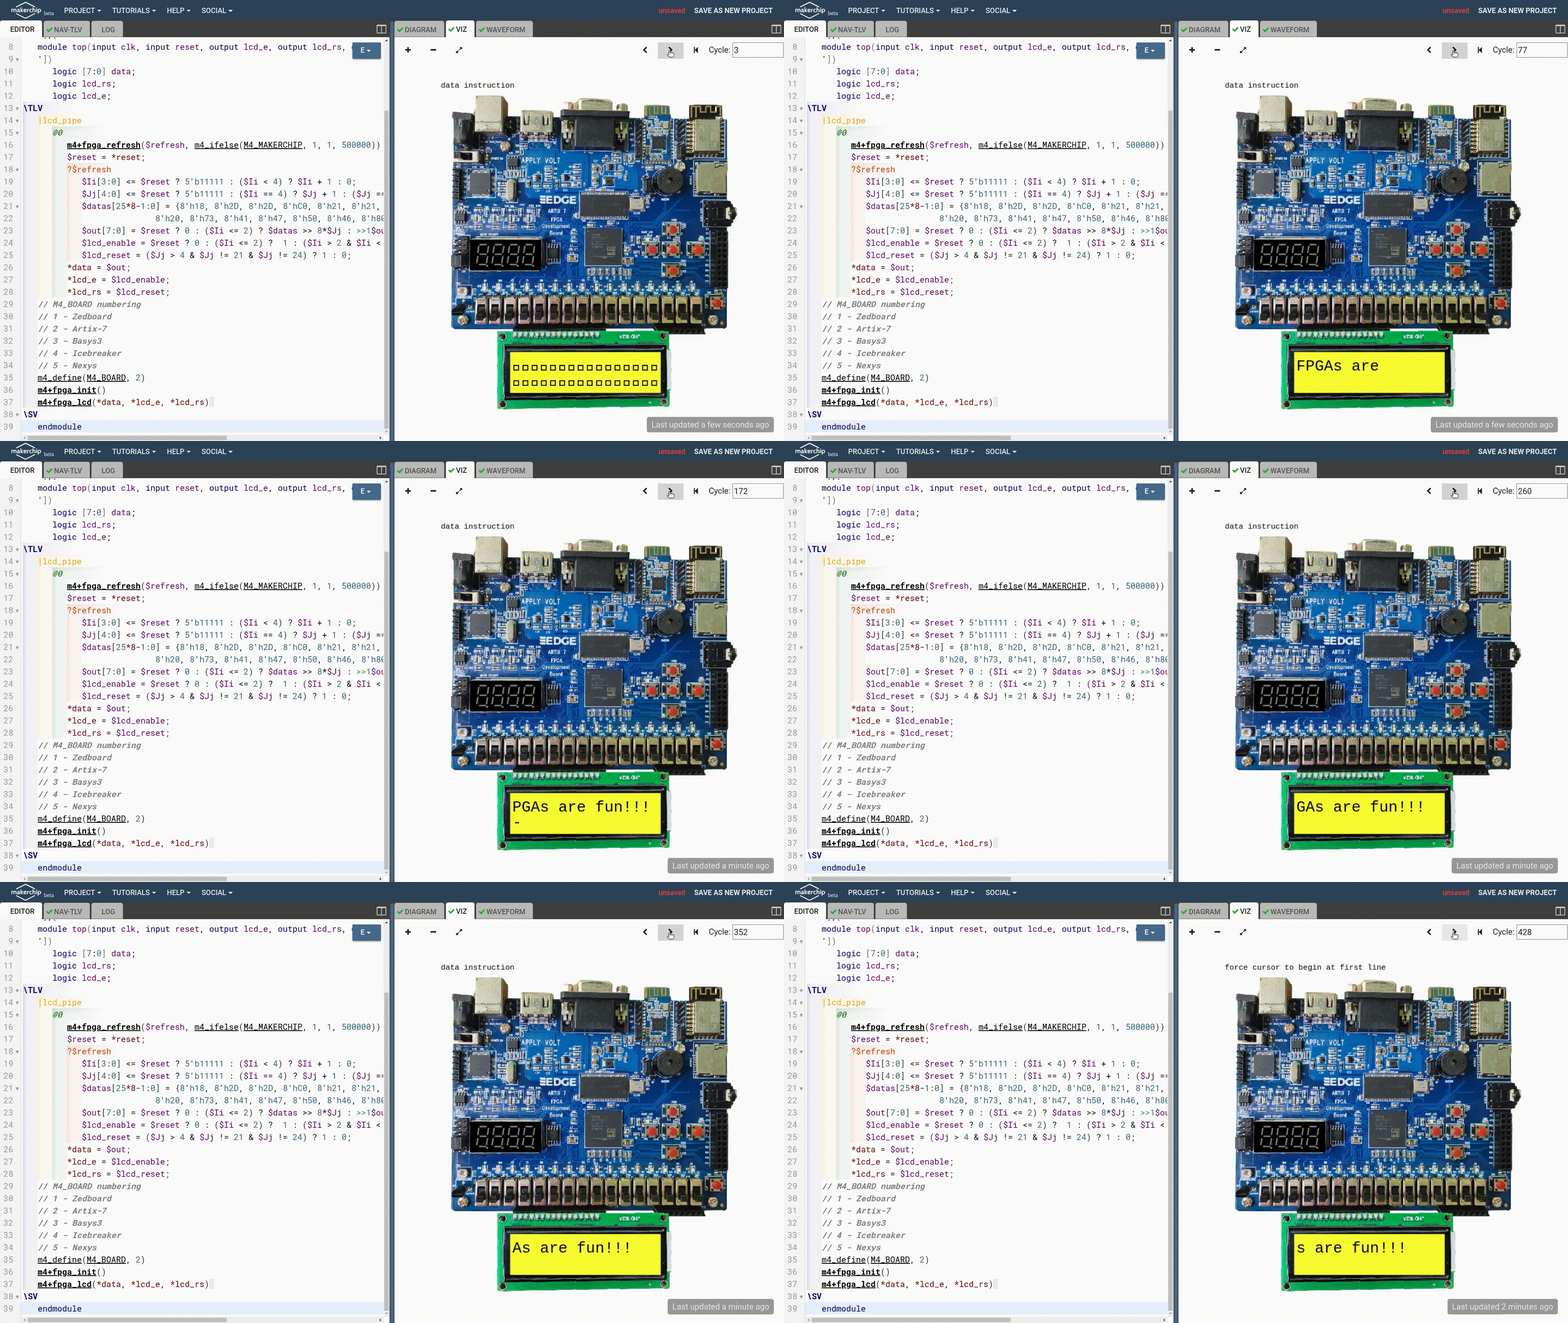
130665759-9894f0de-c058-4075-a990-2dee094123b4.gif


1. Understand Your FPGA and Tools

  • Identify the FPGA model (e.g., Virtex, Kintex, Artix, Spartan).
  • Determine the configuration interface (e.g., JTAG, SPI, or Ethernet).
  • Ensure you have access to Xilinx tools like Vivado, ISE, or Vitis.

2. Check for Toolchain Updates

  • Go to the Xilinx Downloads Page to check for the latest version of your design tool (Vivado, ISE, or Vitis).
  • Download and install the updated software. Follow the installation instructions provided by Xilinx.

3. Prepare the Updated Bitstream

  • Open your design project in the latest version of your Xilinx tool (Vivado or ISE).
  • Make any required changes or updates to the design.
  • Generate the updated bitstream file (.bit) by using the "Generate Bitstream" option in the tool.

4. Update FPGA Online (Remote or Direct Methods)

A. Using JTAG (Local Update)

  1. Connect the FPGA board to your PC via a JTAG cable (e.g., Xilinx Platform Cable USB).
  2. Open the Vivado Hardware Manager or iMPACT (for ISE users).
  3. Detect the connected FPGA device.
  4. Program the FPGA:
    • Select the device.
    • Load the new .bit file.
    • Click Program to upload the bitstream.

B. Remote Update via Ethernet

Some Xilinx FPGAs support remote updates using Ethernet or other network protocols:

  1. Ensure your FPGA board is connected to the network.
  2. Use a tool like Xilinx Vivado Hardware Manager or custom software for remote updates.
  3. Send the .bit file to the FPGA over the network.

C. SPI or Flash Memory Update

If your FPGA uses an external configuration flash memory:

  1. Use the Xilinx tool to program the flash memory.
  2. Connect via JTAG or an onboard programmer.
  3. Load the .bit file into the flash using Vivado Hardware Manager or iMPACT.
  4. Power-cycle the FPGA to load the updated configuration from flash.

D. Using Secure Over-the-Air (OTA) Update

  • For advanced designs, you may implement a custom system for over-the-air updates using an embedded processor (e.g., Zynq SoC).
  • Upload the new firmware to a server or cloud location.
  • The FPGA or its associated processor can fetch the new configuration and reprogram the FPGA.

5. Verify the Update

  • Check that the FPGA is functioning as expected with the new configuration.
  • Use tools like Vivado Logic Analyzer to debug or monitor signals if necessary.

6. Document the Upgrade Process

  • Record any changes made to the design.
  • Save the updated bitstream and other project files in a secure location.

Key Notes:

  • Backup Your Design: Always save the current working bitstream before applying an update.
  • Configuration Safety: Use configuration security features (e.g., encrypted bitstreams) to prevent unauthorized access or tampering.
  • Error Handling: If the update fails, ensure the FPGA can fall back to a known working configuration (dual-boot setups are useful for this).