FPGA

How to program the Altera FPGA?

Time: 2025-01-24 10:30:55View:

Programming an Altera FPGA (now part of Intel since their acquisition of Altera) typically involves a series of steps that include designing your logic, simulating it, and then compiling it into a configuration bitstream that the FPGA can use. Here's a general step-by-step guide on how to program an Altera FPGA:

terasic-de1-soc-kit-rwd (1).png

1. Set Up Your Development Environment

  • Download Intel Quartus Prime: Quartus Prime is the primary software suite for designing with Altera (Intel) FPGAs. It includes tools for designing, simulating, and programming your FPGA.
  • Install the USB-Blaster or Programmer Cable: If you're using a development board, you may need a USB-Blaster or another programming cable to connect your PC to the FPGA for programming.

2. Create a New Project in Quartus

  • Open Quartus Prime and create a new project:
    • Go to File > New Project Wizard.
    • Select the directory for your project and name it.
    • Choose the FPGA model (part number) for the Altera device you're using. You can find this on your FPGA board or in the datasheet.

3. Design Your Logic

  • HDL Design (VHDL or Verilog): Write your FPGA design in either VHDL or Verilog. You can create new files for your design using the File > New option.
  • Graphical Design (Block Diagram): If you're not familiar with HDL, you can use Quartus’s graphical tools (like the Block Diagram Schematic Editor) to design your logic.
  • Add IP Cores: If you need more complex functionality (e.g., UART, memory interfaces), you can add pre-built IP cores (Intellectual Property Cores) using the IP Catalog in Quartus.

4. Compile Your Design

  • After completing the design, click the Start Compilation button in Quartus. This will:
    • Synthesize your HDL code into a gate-level representation.
    • Map the design to the FPGA resources (logic elements, memory blocks, etc.).
    • Generate the bitstream file that will configure the FPGA.

5. Simulate Your Design (Optional)

  • ModelSim (Altera Edition): Before programming the FPGA, you can simulate your design using ModelSim (also bundled with Quartus) to verify its functionality.
  • Create a testbench for your design and run simulations to ensure that everything works as expected.

6. Program the FPGA

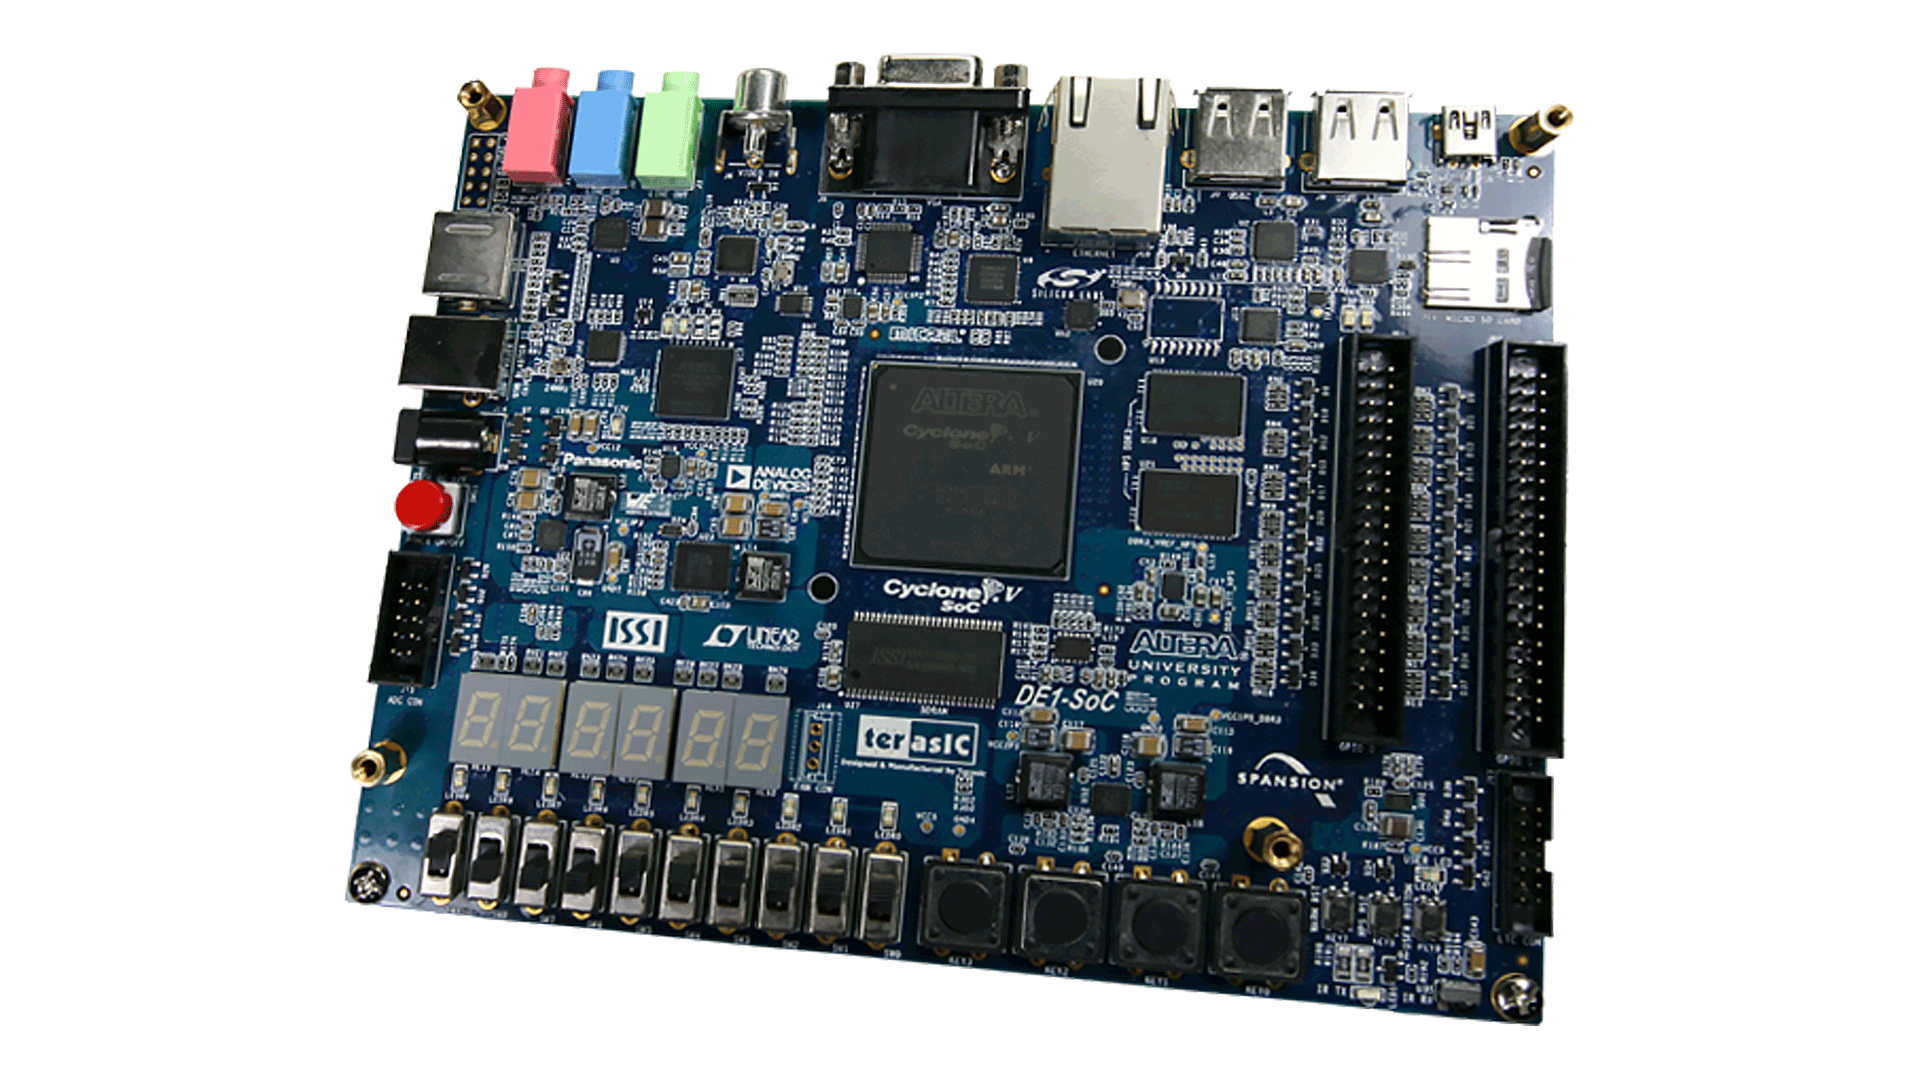
  • Connect Your FPGA Board: If you’re using a physical FPGA board, connect it to your computer using a USB-Blaster or appropriate programming cable.

  • Program Using Quartus:

    • Open the Programmer tool in Quartus (Tools > Programmer).
    • Select the programming hardware (e.g., USB-Blaster).
    • Add the .bit file (the configuration file generated after compiling).
    • Click Start to begin the programming process.
  • Verify Programming: After the FPGA is programmed, you can verify the programming success by checking if the design runs as expected or using the Programmer window to check the status.

7. Debug and Test the Design (Optional)

  • SignalTap II Logic Analyzer: Quartus includes SignalTap II, which is an embedded logic analyzer for debugging your FPGA design. You can insert probes into your HDL design to monitor signal activity on the FPGA in real time.
  • External Debugging Tools: If necessary, you can also use external debugging tools, like oscilloscopes or logic analyzers, to monitor the FPGA's outputs.

8. Reprogramming and Iterating

  • FPGA designs often require multiple iterations. After testing the design, you might need to go back, make changes to the code or logic, recompile, and then reprogram the FPGA. Quartus provides a simple workflow for iterative design.

Tips & Best Practices:

  • Simulation is Key: Always simulate your design in ModelSim before programming the FPGA to catch logic errors early.
  • Use the Right FPGA Part: Make sure you select the correct device in the project settings to avoid issues with resource allocation during the compilation.
  • Documentation: Keep the datasheet for your specific FPGA model handy, especially for pinouts, memory configuration, and performance limitations.
  • JTAG/USB-Blaster: Ensure that your programming cable (e.g., USB-Blaster) is correctly installed and recognized by your computer.

Conclusion

The general steps to program an Altera (Intel) FPGA are:

  1. Set up the development environment with Quartus.
  2. Design your logic in VHDL, Verilog, or a graphical tool.
  3. Compile the design into a bitstream.
  4. Program the FPGA using a USB-Blaster or similar programming cable.
  5. Debug using SignalTap II or external tools if needed.