FPGA

How to add device virtex 4 FPGA to xilinx impact?

Time: 2025-01-09 11:14:40View:

Adding a Virtex-4 FPGA device to Xilinx iMPACT involves several steps. This process requires proper configuration of the Xilinx tools, availability of the correct device files, and ensuring your hardware setup is functional. Below are the detailed steps to add and configure a Virtex-4 FPGA in Xilinx iMPACT:
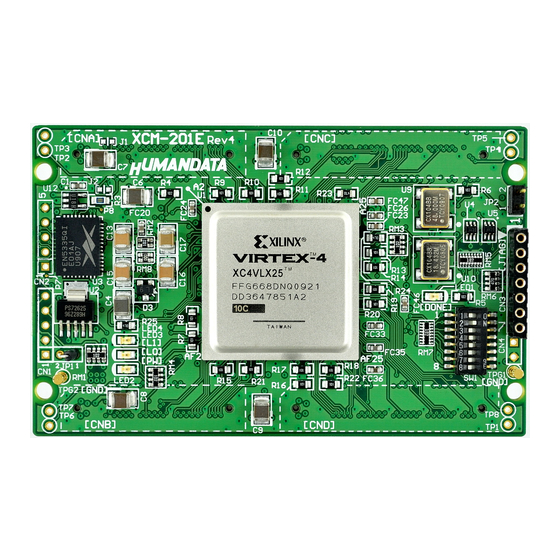
xilinx-virtex-4-motherboard (1).jpg


Step 1: Install Xilinx ISE Design Suite

  1. Ensure the Xilinx ISE Design Suite is installed on your computer.
    • The last version of ISE that supports Virtex-4 devices is ISE 14.7.
    • Download and install the suite if not already done.

Step 2: Launch Xilinx iMPACT

  1. Open the Xilinx iMPACT tool from the ISE Design Suite.
    • On Windows: Start Menu > Xilinx Design Suite > Accessories > iMPACT.
    • On Linux: Run impact from the terminal.

Step 3: Create or Open a Project

  1. In the iMPACT GUI:
    • Select Create a New Project.
    • Choose the option to manually add devices or Automatically detect JTAG devices if you have hardware connected.

Step 4: Add the Virtex-4 Device

  1. If Automatically detect JTAG devices is selected, ensure the FPGA is connected to the JTAG chain, powered on, and properly recognized by iMPACT.
  2. If you need to add the Virtex-4 FPGA manually:
    • Right-click in the device chain window and select Add Device.
    • Navigate to the directory where the Xilinx device files are located (e.g., <Xilinx Installation Directory>/ISE_DS/ISE/xc4vfx/).
    • Select the correct .ncd or .bit file for your Virtex-4 device.

Step 5: Load the Bitstream

  1. Once the Virtex-4 device is visible in the device chain:
    • Right-click on the device.
    • Select Assign Configuration File.
    • Browse to your pre-generated .bit file for the Virtex-4 device.
    • Click Open to associate the bitstream with the FPGA.

Step 6: Configure the FPGA

  1. Ensure your hardware (e.g., Platform Cable USB) is connected to the JTAG chain.
  2. Click Program in the iMPACT interface to download the configuration file to the Virtex-4 FPGA.

Step 7: Verify the Configuration

  1. After programming, iMPACT will display a message indicating whether the configuration was successful.
  2. Optionally, use iMPACT's Readback or Verify features to confirm that the FPGA is configured correctly.

Troubleshooting Tips

  • Device Not Recognized: Check the power supply and JTAG connections to the FPGA. Ensure the correct drivers are installed for the programming cable.
  • Unsupported Device: Ensure your version of ISE supports Virtex-4. If not, update or reinstall ISE.
  • Invalid Bitstream File: Ensure the bitstream file matches the target FPGA device.

Conclusion

By following these steps, you can add and configure a Virtex-4 FPGA in Xilinx iMPACT for programming and testing. Proper setup and verification are crucial to ensuring a successful FPGA configuration.