Time: 2025-05-09 11:25:01View:
Creating a product using an FPGA (Field-Programmable Gate Array) involves hardware design, firmware development, and system integration. Below is a structured guide to help you build an FPGA-based product from concept to production.
Before selecting an FPGA, clarify:
✅ Functionality (Digital signal processing? AI acceleration? High-speed I/O?)
✅ Performance Needs (Clock speed, latency, power consumption)
✅ I/O Interfaces (USB, Ethernet, HDMI, GPIO, ADC/DAC)
✅ Power Constraints (Battery-powered or mains-powered?)
✅ Cost & Scalability (Low-cost FPGA vs. high-end for prototyping)
Popular FPGA vendors:
Microchip (Microsemi) (PolarFire, SmartFusion2)
Selection Criteria:
✔ Logic Cells (LUTs, Flip-Flops for complexity)
✔ DSP Slices (For math-heavy tasks)
✔ Memory (Block RAM, External DDR)
✔ Hard IP Cores (PCIe, Ethernet, USB)
✔ Power Efficiency (Critical for portable devices)
Schematic Design (Use KiCad, Altium, OrCAD)
Add FPGA, power supply (1.0V, 1.2V, 3.3V rails), clock sources (crystals/oscillators).
Include necessary peripherals (SDRAM, Flash, Ethernet PHY, etc.).
Add JTAG/SWD for programming & debugging.
PCB Layout
Follow FPGA manufacturer’s PCB Design Guidelines (critical for signal integrity).
Use controlled impedance routing for high-speed signals (DDR, PCIe, LVDS).
Optimize power distribution network (PDN) with decoupling capacitors.
Write Register-Transfer Level (RTL) code for custom logic.
Example (Verilog):
module led_blinker (
    input clk,
    output reg led);
    reg [31:0] counter;
    always @(posedge clk) begin
        counter <= counter + 1;
        if (counter == 25_000_000) begin
            led <= ~led;
            counter <= 0;
        end
    endendmodule
Use Xilinx Vitis HLS or Intel HLS to convert C/C++ to HDL.
Use Xilinx Zynq (ARM + FPGA) or Intel Cyclone V (HPS + FPGA).
Run Linux on ARM & offload tasks to FPGA.
Simulate using ModelSim, Questa, or Verilator.
Test on Development Boards (e.g., Xilinx PYNQ, DE10-Nano) before custom PCB.
Use SignalTap (Intel) / ChipScope (Xilinx) for real-time debugging.
Manufacture PCB (JLCPCB, PCBWay).
Solder & Assemble (Use hot air/reflow for BGA FPGAs).
Power-On Test (Check voltages, clock signals).
Program FPGA (Via JTAG or Flash memory).
Validate I/O (Test GPIO, UART, Ethernet, etc.).
Optimize FPGA Bitstream for size & speed.
Secure Firmware (Encrypt bitstream to prevent cloning).
Consider ASIC Conversion (If mass-producing, move from FPGA to custom chip).
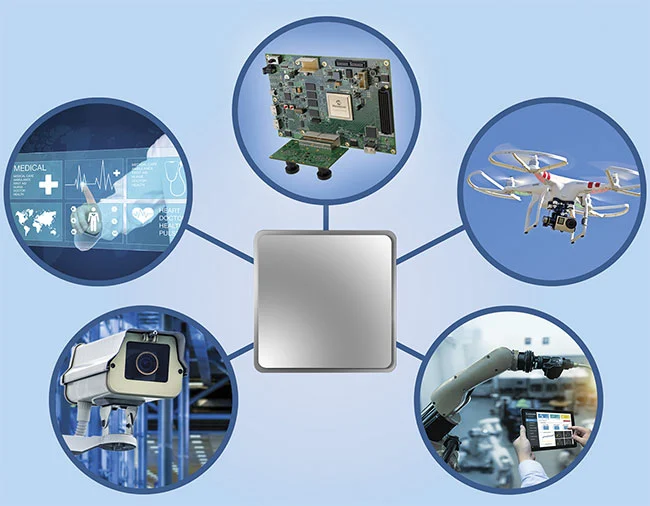
High-Speed Trading Systems (Ultra-low latency)
Medical Imaging Devices (Real-time processing)
Robotics & Motor Control (Custom PWM & sensor fusion)
Cryptocurrency Miners (High parallel computation)
FPGA Dev Boards:
Xilinx: Basys 3, PYNQ-Z2
Intel: DE10-Nano, Cyclone V GT
Lattice: iCE40-HX1K
Free FPGA Tools:
Xilinx Vivado (Free WebPack)
Intel Quartus Lite
Lattice Radiant
